
Geometry comparisonA different shape.
A different shape.
The same process.
A stud or receiving-contact trial changes prepared geometry while keeping the print recipe controlled.
Choose the source, control the comparison and keep the evidence with the setup. Here is how a Nexlock workflow comes together.
One part. One recorded setup.
Follow one representative part from start to finish.
5 stagesA useful comparison begins with the printer, installed nozzle and spool you will use for the job.
Choose the exact printer model and physically installed nozzle.
Select the actual filament entry when available and review the complete recipe.
For native project preparation, confirm the installed slicer has the same machine/nozzle preset.
The exact model and usable build area.
The size physically installed.
The actual material, product and color.
The printer model, nozzle, material and process shown in the final project must match the physical setup.
Select the source you intend to print and inspect the connection surfaces before changing the fit.
Search a part number, name or family in the Nexlock Brick System.
Inspect the top, underside, receiving walls and any thin or projecting features.
Resolve source repair or build-volume errors before preparing an export.
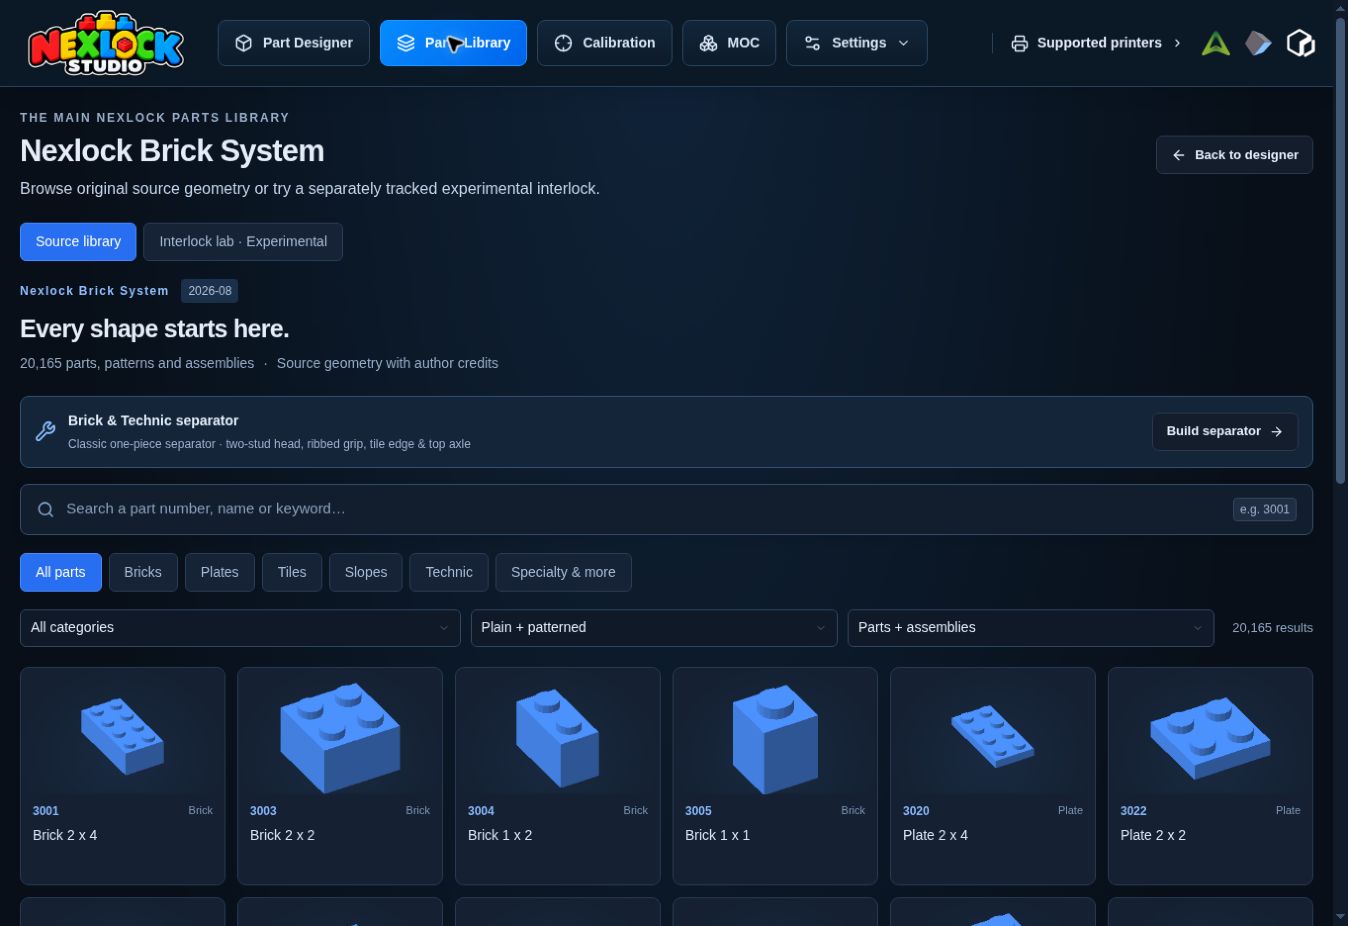
A closed-solid check is about topology. Orientation, small details and the intended physical connection still need inspection.
Choose the question you want the test to answer, then prepare numbered candidates with an explicit range.
Choose the source, goal and standard, fine or wide range.
Read the changing value and the candidate’s prepared geometry or process.
Keep the source, spool and other conditions fixed while comparing the selected variable.
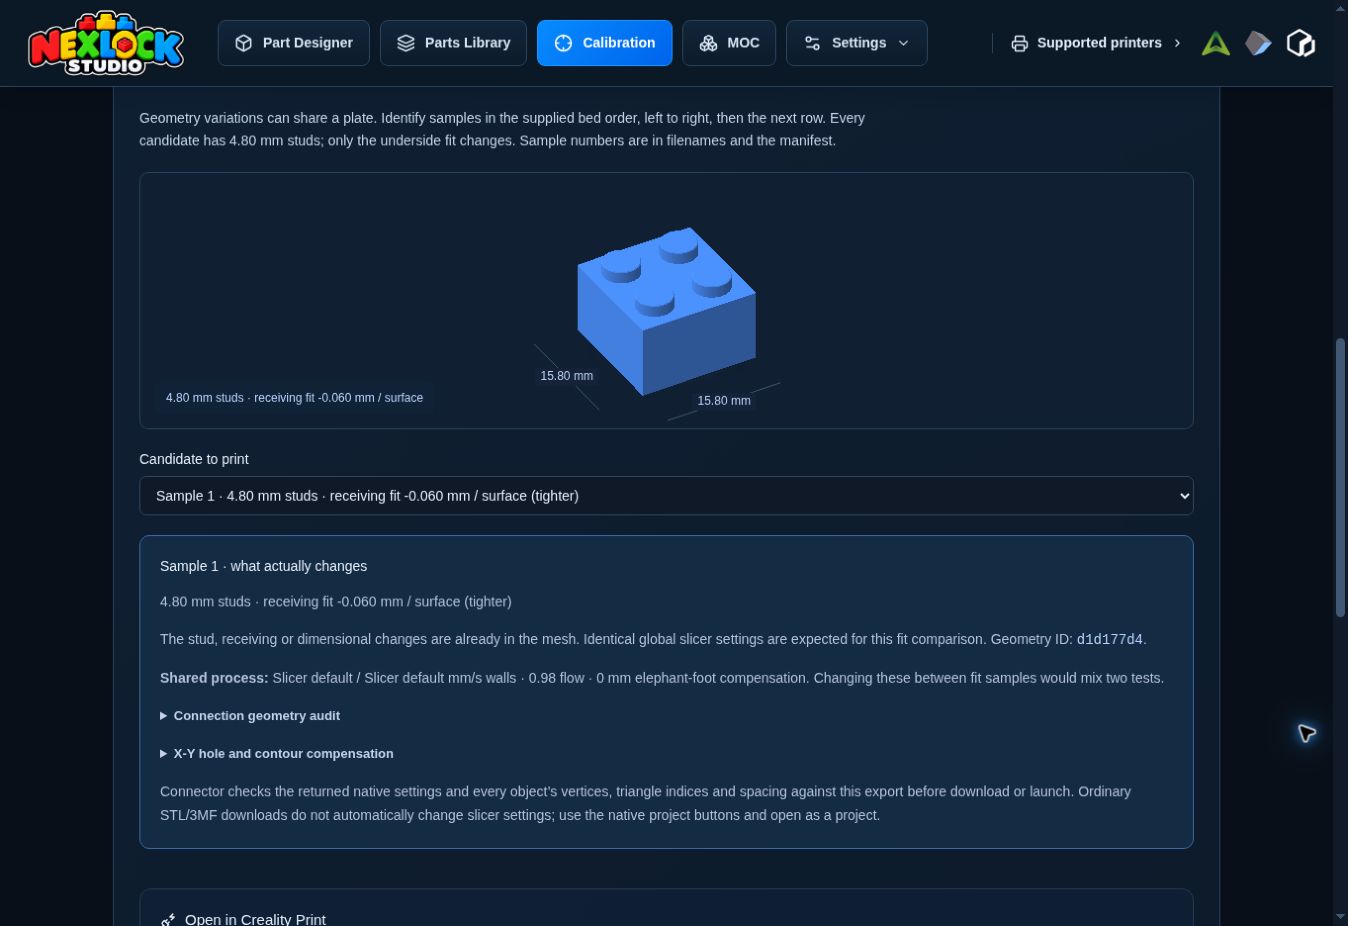
Inspect cooled samples for full seating, single-stud retention where required, corner quality, flatness and clean release.
Repeat the selected candidate and complete the measurements and functional checks for that exact geometry and process.
Print matching copies and use the same physical reference throughout the comparison.
Complete the displayed dimensions, cycles, flatness, seating and applicable single-stud checks.
Record passing evidence only after the required observations succeed.
Measure against the displayed targets.
Check the worst assembled gap.
Repeat connection and release cycles.
Complete this check when the trial requires it.
These are checks to complete with printed samples, not recorded passing results.
Test both directions: printed studs into the reference receiver and reference studs into the printed underside. A new source or system revision needs its own evidence.
Prepare the intended part and review the actual sliced job before starting the printer.
Download geometry for manual slicer setup, or prepare a native project with the matching installed vendor resources.
Open a native file as a project and verify the printer, nozzle, recipe and placement.
Slice, inspect the layers and real time estimate, then start printing yourself.
Set up the printing process in your slicer.
Ordinary 3MF does not reliably replace the active slicer recipe.
Uses installed vendor resources and supported recipe overrides.
A full plate can behave differently from a small comparison. Inspect representative pieces after changes to the process, quantity or placement.
Different samples do not always mean different slicer settings. Read the comparison before printing.
A stud or receiving-contact trial changes prepared geometry while keeping the print recipe controlled.
A flow, temperature or motion trial uses its candidate’s own recipe. Print global process differences as separate jobs.
Repeatability comes from the whole setup, not a single number.
Keep the part, source mesh, system revision and selected geometry attached to the result.
Retain the printer, installed nozzle, actual spool and complete recipe.
Recheck fit, release, surfaces and flatness after a meaningful setup or process change.
Read the first-run guide or continue into Nexlock Studio.