Choose your source
Start with the exact part and geometry you intend to print.
A home for your next brick-built idea. Explore parts, refine the fit, and prepare a print for the setup on your desk.
Find your way into the workshop. Choose what you want to do, and we’ll point you to the right tools.
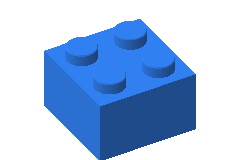
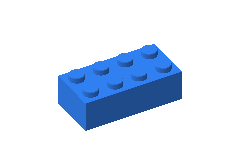
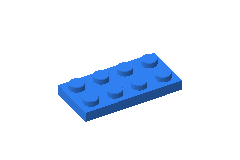
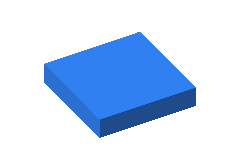
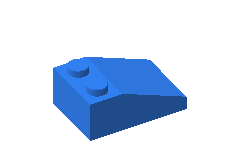
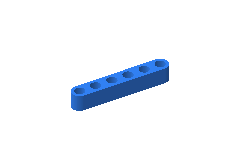
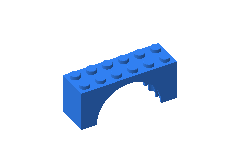
Look up a part number or browse a family, then inspect its mesh, attribution and connection surfaces.
Find familiar building blocks and specialist connections in one searchable library. Inspect the shape, check its source, and make it the starting point for your next project.
Explore the parts librarySource identity and community attribution stay with the part. Physical fit is verified with your own setup.
Choose your printer and nozzle to see the build volume and slicer workflow. Carry that setup straight into a new design.
Configured build volume · Enclosed
Compare the export options and choose what you want to carry into the next step.
Read the export guideUse it when you want the prepared shape and will set up the printing process yourself.
Keep the details that help you understand the result and repeat what works.
Walk through the processStart with the exact part and geometry you intend to print.
Keep the machine, nozzle, material and spool together.
Focus on one fit or finish goal, then repeat the promising test.
Save your design and record the passing evidence for a Tested setup.
Practical guides for your first part, a better fit, and everything that follows.
Visit the help centerStart from the Nexlock Brick System library or use the custom parametric tools. Inspect your chosen part and its connection surfaces before preparing the print.
Printer selection supplies hardware context. Clutch and finish also depend on the part, nozzle, spool and process. Compare a small physical test and save the evidence for the exact setup.
MOC is coming soon. You can explore the source parts library and calibrate individual parts today. Whole-model creation and assembly tools are not available yet.
Select Enter Studio, then Continue to Designer. Standalone Nexlock account sign-in is being prepared; the site’s existing access requirements still apply.
Open the workshop. Find a part. See what comes next.