Skip to content
The Studio, up close

A clearer view of every connection.

Bring the part, its print setup and the questions behind a good fit into one considered workspace.

From the source to the setupExplore the tools
01 / Design & inspect

Understand the part.
Then prepare it.

Look closely at the geometry, material preview and printing setup before the part reaches the bed.
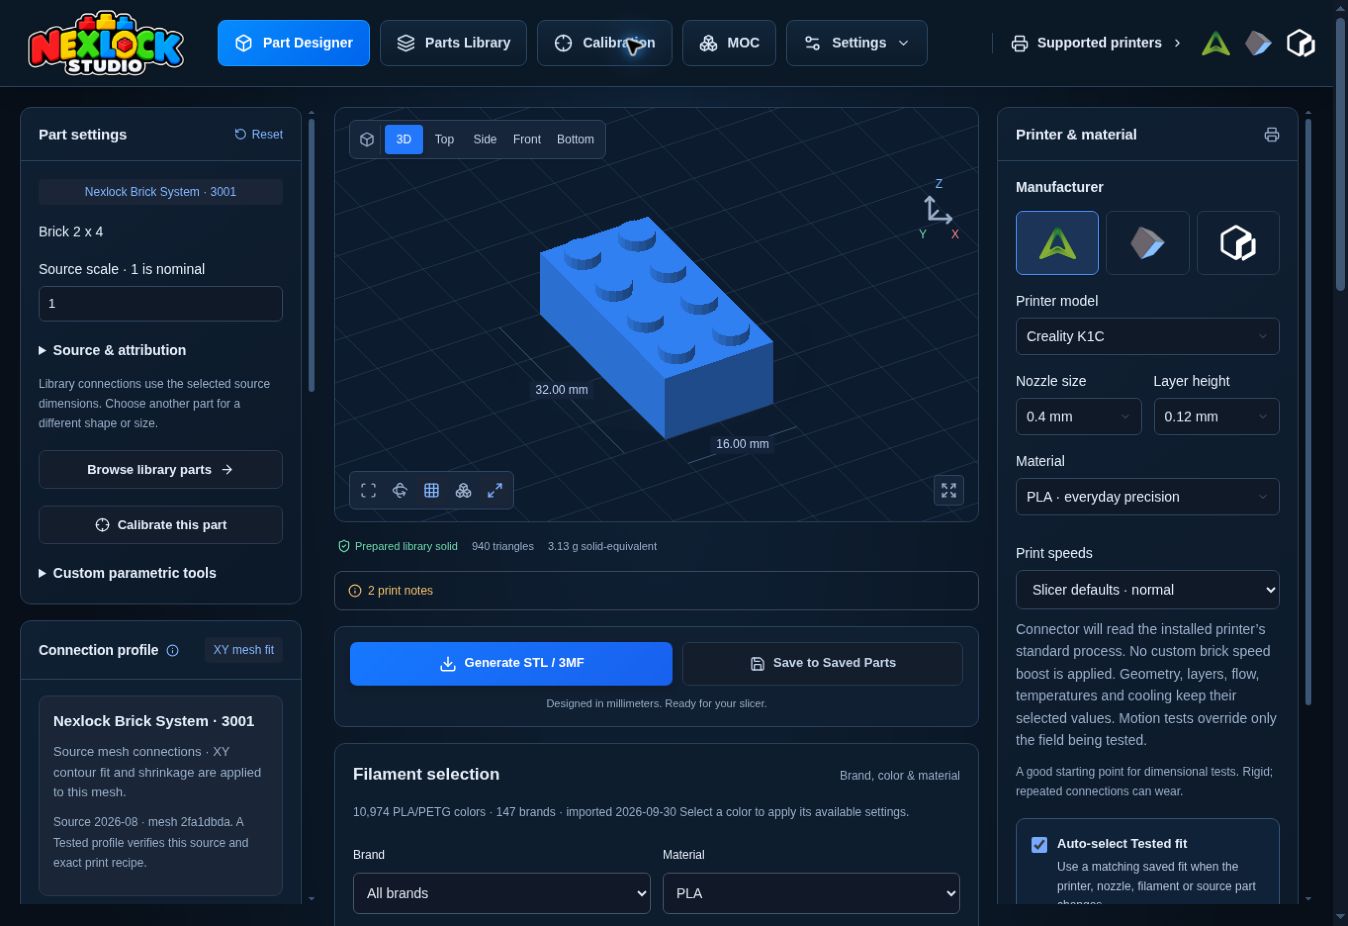
Nexlock Part Designer showing a library brick and its design and printer controls
Example workspace · Part DesignerView full image

Inspect the actual mesh

Orbit, view the underside and compare dimensions or wireframe. Look at the receiving surfaces as closely as the top studs.

Preview your material

Use the selected filament’s color and finish to explore appearance. The loaded spool and printing process determine the physical result.

Keep the setup in view

Review the printer, installed nozzle and recipe alongside the model. Generate files from the current prepared geometry.

02 / Find your source

A whole library
of possibilities.

Nexlock Brick System makes source parts searchable by number, name and family, with their release, author and license information attached.
20,165community source entries
in this website’s snapshot
  • Inspect a source before using it.
  • Start a comparison from the same part.
  • Keep original attribution with exports.
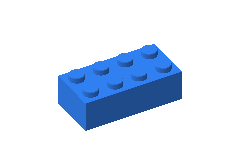
Brick example render
Brick
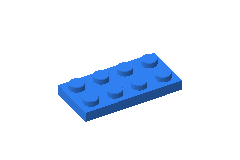
Plate example render
Plate
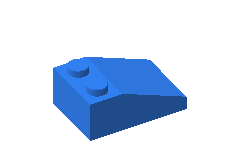
Slope example render
Slope
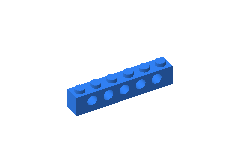
Technic example render
Technic
Illustrative parametric shape renders

Keep the identity with the geometry.

Part
The selected source number
Release
The recorded library revision
Credit
Original author & license
Preparation
Declared fit adjustments

One source, with the context needed to return to it.

03 / Compare & refine

Give the next test
a clear question.

Calibrate the connection or investigate a surface problem with numbered candidates and an explicit changing value.

Geometry trial

Change the shape.
Hold the process.

Prepared geometry
Compared
Print recipe
Shared

Stud or receiving-contact changes are already in the exported mesh.

Process trial

Keep the fit.
Compare the recipe.

Prepared geometry
Shared
Selected process field
Compared

Use each candidate’s recipe when flow, temperature or motion varies.

01Choose

Start with the source.

Use a checked part, then choose a goal and a controlled range that answer the problem you see.

02Compare

Know what changes.

Geometry trials can share a print recipe. Process trials must retain the labeled candidate’s recipe.

03Verify

Record the result.

Repeat a promising candidate and complete its physical checks before recording that exact setup as Tested.

04 / Interlock LabExperimental pilot

See the connection
from the inside.

Interlock Lab lets you inspect implemented systems and compare the prepared geometry before tuning the selected system’s receiving contact.
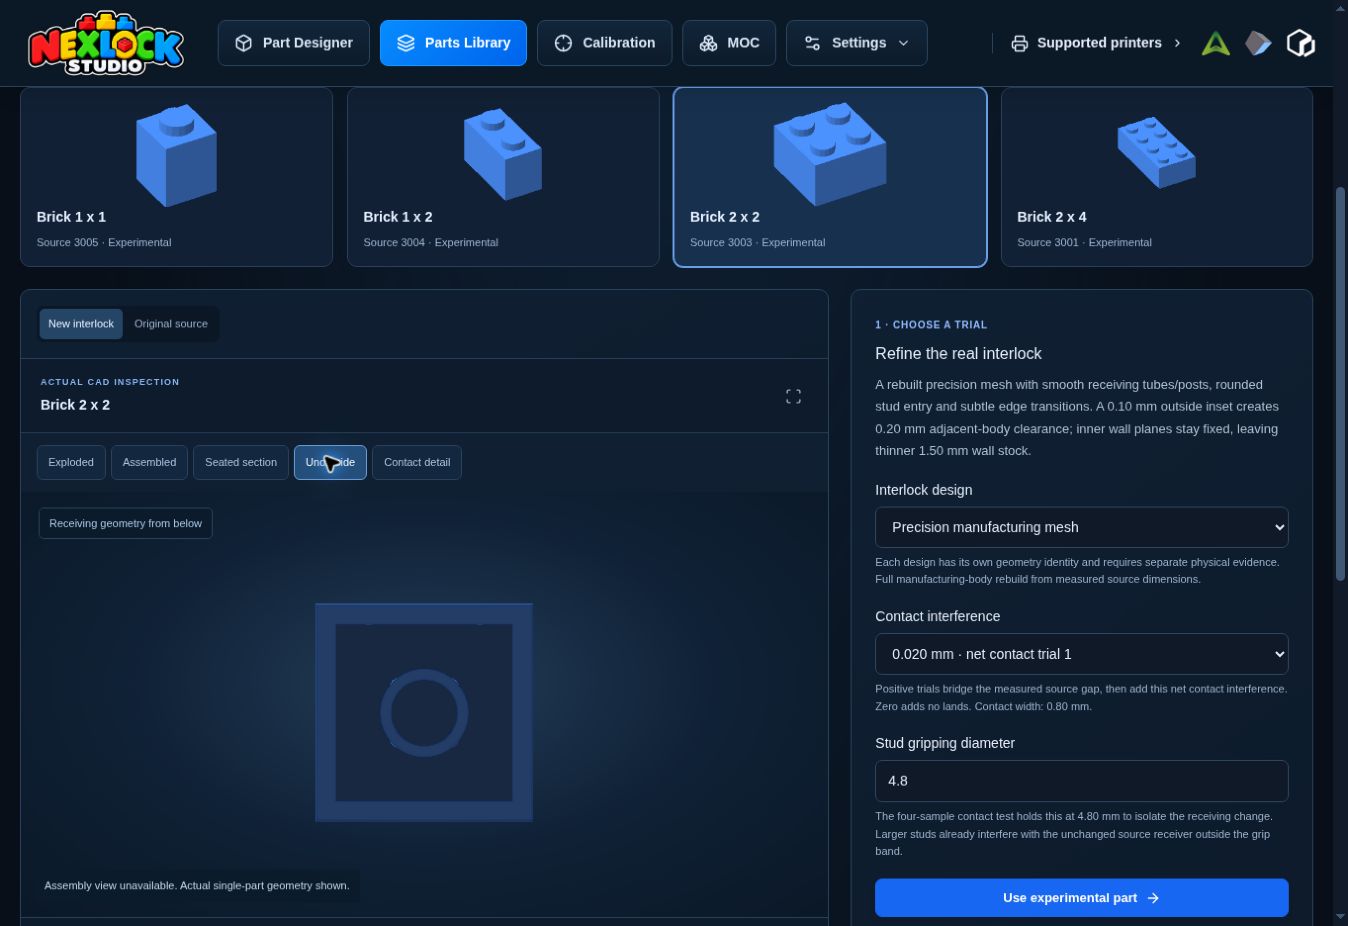
Pilot sources
3005 · 3004 · 3003 · 3001
Current trial scope
PLA / PETG · 0.2–0.4 mm nozzles
Interlock Lab showing source-linked experimental geometry inspection
Example workspace · Interlock LabView full image
05 / Printer & filament

Your hardware.
Your spool.
Your process.

The recipe connects the digital part to the physical setup you intend to print with.

Match the machine
Choose the exact model and physically installed nozzle.
Choose the actual spool
Explore available PLA/PETG entries by brand, type and color. Appearance is a screen approximation.
Keep the winning recipe
A complete matching Tested profile can restore its recorded setup for the exact applicable source and conditions.
The setup behind the color
Illustrative colors · Screen appearance is approximate
01Machine & installed nozzle
02Actual filament product & color
03Complete printing recipe

Keep these details together when comparing or reusing a fit.

06 / Keep the context

A part is more
than its shape.

Saved Parts keeps the source, design and stored recipe together so you can intentionally return to a setup.

Explore what stays with your part
01

Source & geometry

Part identity, selected design and stored fit values.

02

Printer & material

The recorded machine, nozzle, spool and complete recipe.

03

Purposeful reuse

Reopen the saved record or duplicate it for another variation.

One workshop. A clear next step.

Get to know
your next build.

Follow the workflow, or continue into the Studio when you are ready.